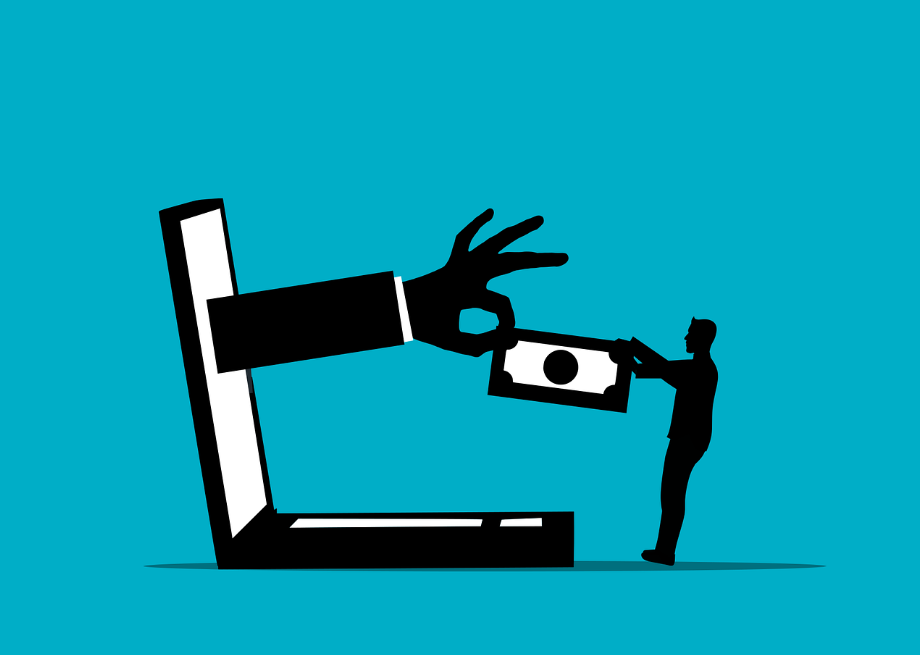
Most cyberattacks do not start with a sophisticated intrusion. They start with a click on a personal email, a reused password, or a file uploaded to a familiar cloud service because the approved option felt slower.
The Verizon Data Breach Investigations Report found that 68% of breaches involve the human element.
Not a zero-day exploit. Not a brute-force attack on a hardened system. Human behavior, in the course of an ordinary working day.
For businesses running cloud-based workflows across multiple devices, the personal and professional overlap is now the rule. Understanding where that overlap creates risk is no longer optional. It is a core part of modern security strategy.
The Risk Sitting Outside Your Security Stack
Personal web habits are not reckless behavior. They are normal behavior.
Checking a personal inbox on a work laptop. Logging into a social account during a break. Saving a work password in a browser already loaded with personal accounts. Uploading a document to a storage service because it is faster than the approved option.
None of these feel like security decisions in the moment. But each creates a connection between personal digital activity and business systems, and that connection sits outside most traditional security controls.
Hardening systems, deploying tools, and locking down networks addresses part of the problem. The rest moves with the people.
How Personal Web Habits Create Business Exposure
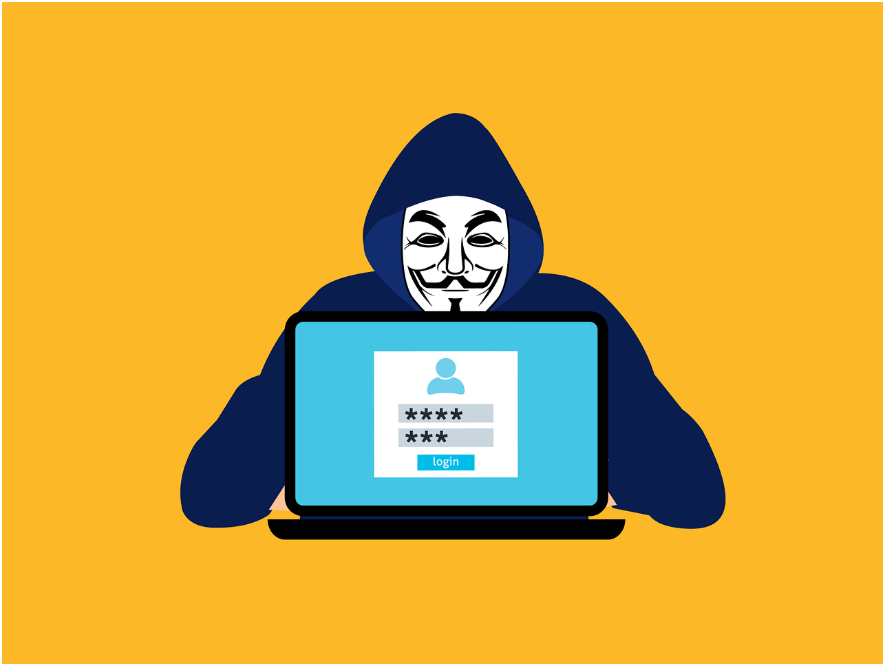
Personal channels are phishing’s preferred territory
Personal inboxes, messaging platforms, and social media feeds are where phishing thrives.
These environments are harder to filter, easier to spoof, and loaded with the emotional triggers that make people act before they think.
When those channels share a device or browser with business systems, a single click can cross the boundary instantly.
Phishing is the most common entry method for attackers precisely because it exploits distraction rather than technical weakness. The target does not need to be careless. They just need to be busy.
Password reuse turns personal breaches into work incidents
Password reuse is one of the most direct connections between personal and professional exposure.
When credentials from a personal account are compromised, attackers run them against business systems automatically. This technique, credential stuffing, is low-effort and highly effective because so many people use the same password across multiple accounts.
Unique credentials for every account, combined with multi-factor authentication, break that chain.
A personal breach has nowhere to go when the work account requires a second factor that the attacker cannot relay.
Shadow IT is usually about convenience, not defiance
Most unauthorized tool usage does not begin with disregard for IT policy. It begins with a productivity gap. Employees use personal cloud storage, consumer messaging apps, or AI tools because they are faster and more familiar than the approved alternative.
The security risk is not the intention behind the choice. It is what happens to the data.
Once business information moves into platforms that IT cannot see, audit, or secure, it falls outside every control in place. The tool usage is predictable. The data exposure is not.
Why Blocking Behavior Doesn’t Work
The instinct is to lock things down: block personal apps, restrict browsing, enforce strict device policies.
In practice, blanket restrictions rarely stop the behavior. They relocate it. Users find workarounds. Unapproved tools move to personal devices. IT teams lose visibility into exactly the activity they were trying to manage.
The risk does not disappear. It moves somewhere harder to see.
Security strategies that assume perfect compliance perform poorly in real workplaces. The goal is not eliminating the overlap between personal and professional digital activity. It is managing it without breaking how people work.
What Actually Reduces Risk
The controls that work are the ones that match how people actually operate.
Separate contexts, not people
The simplest way to reduce crossover risk is to reduce crossover.
Separate browser profiles for work and personal activity, clear guidance on where business accounts should be accessed, and identity boundaries that prevent accidental mixing all reduce exposure without restricting what people do with their time.
This is not about surveillance. It is about creating enough distance between personal and professional digital activity that a compromise in one does not automatically reach the other.
Design for credential failure
Assume passwords will eventually be exposed somewhere. Design for that outcome rather than hoping to prevent it.
CISA reports that enabling multi-factor authentication makes accounts 99% less likely to be compromised, even when the underlying password has already been stolen.
MFA converts the most common attack path into a dead end.
Stolen credentials from a personal breach cannot reach a work account that requires a second factor. A password manager handles unique credentials across every account, making that protection sustainable without placing an unrealistic burden on users.
Make secure behavior easier than unsafe behavior
Personal web habits are not dangerous by default. Ignoring the risk they create is. The most secure environments today are not the most restrictive. They are the most realistic: built around how people actually work, designed to contain failure when it happens, and focused on making safer behavior the path of least resistance.
Helping clients reduce human-driven security risk is one of the most impactful services an MSP can offer.
Contact us or schedule a consultation to review current controls and identify where the most important gaps are.
—
This Article has been Republished with Permission from The Technology Press.